Showing posts with label HTTPS. Show all posts

Monday, 5 September 2011

Trust me, I'm a CA - Part 4. The joy of certificates - Part 6

This is a follow on post from this post.

I have finally managed to get this working. The issue is better explained with pictures, for reasons that soon will become obvious:

Non-Working:

Working:

You can see how the OCSP is now active and there is a url for it, see this link on how to set this up. The thing I don't quite understand is that before it was active, client certificates would not work because they could not get to the CA to confirm whether they were revoked, and thus IIS refused to use them but once I configured it even with the CA web server down, it works. I've restored the CA back to pre-OCSP and it still works.

I'm afraid that this post poses more questions that answers, but that is life sometimes I guess, when one is learning. More reading about CAs here I come.

Tuesday, 16 August 2011

Trust me, I'm a CA - Part 3. The joy of certificates - Part 5

This is a follow on post from this post.

So thus far, we have a CA and a secure web site, so the missing piece in the puzzle is the client certificate, thus let's dive right in, except that: It turns out that in order to create a client certificates the CA website must be running securely.

You can use the procedure described in my previous post to generate a new server certificate and then you can install it as follows: Start|Run|inetmgr


Although the GUI has changed, the procedure is the pretty much the same as described in my previous post, for both the request and then the completion of the request. Once completed, you'll have a new server certificate installed:

Now go the default website on IIS Manager and add a new Binding:


Note that I have selected the same certificate that I created before. We can now navigate to the CA website using ssl.

Note, that if you use https://localhost/certsrv you'll see a warning unless you specifically created the certificate for localhost, but if you don't you'll need to change you trusted sites settings so that activex controls can run.
We can now request a client certificate.


You'll get the following prompt, just press yes to continue:


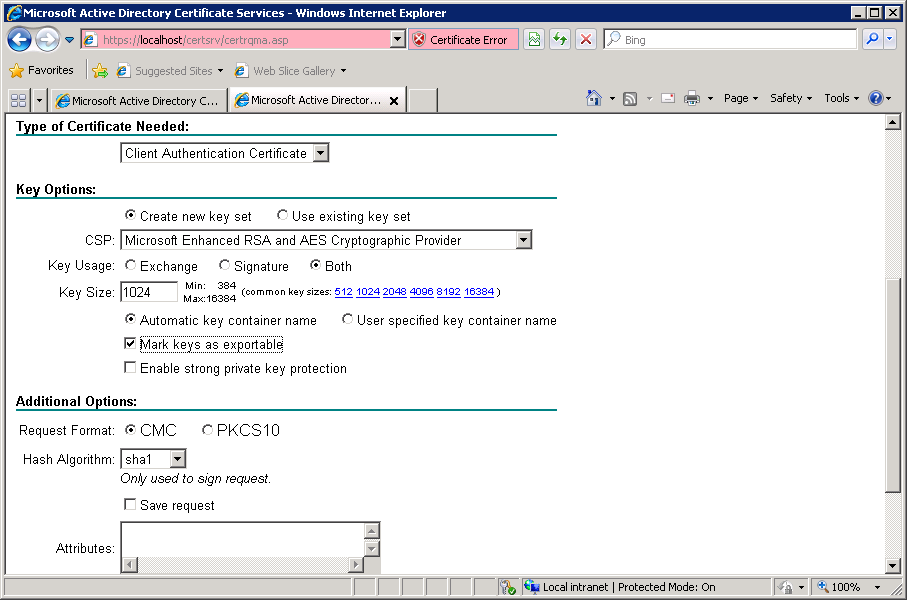
Fill in the identity information, not shown, and then make sure that you tick mark keys as exportable and press submit.


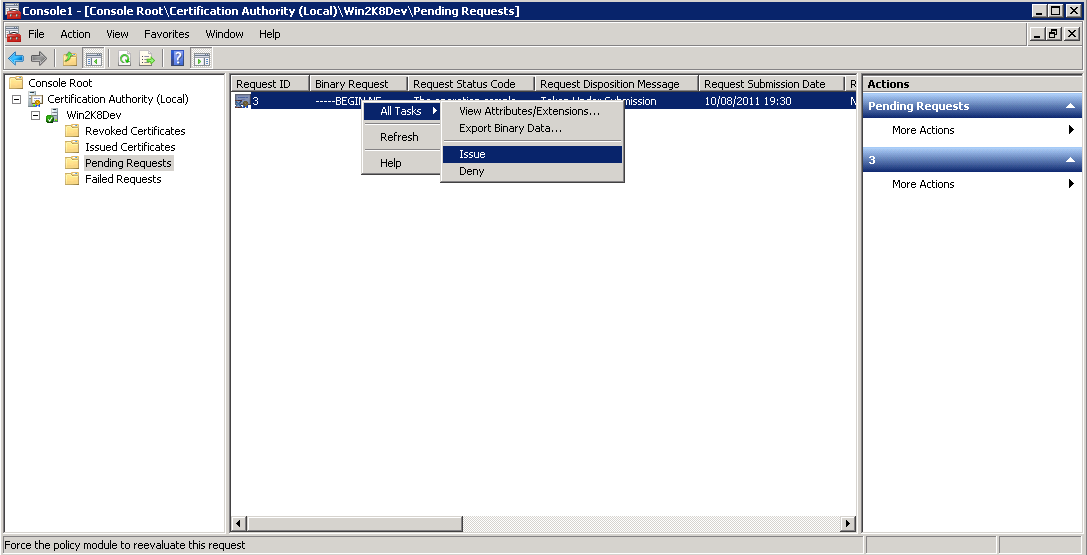
You'll get the usual message about the request being pending, see my previous post for details on how to deal with this.


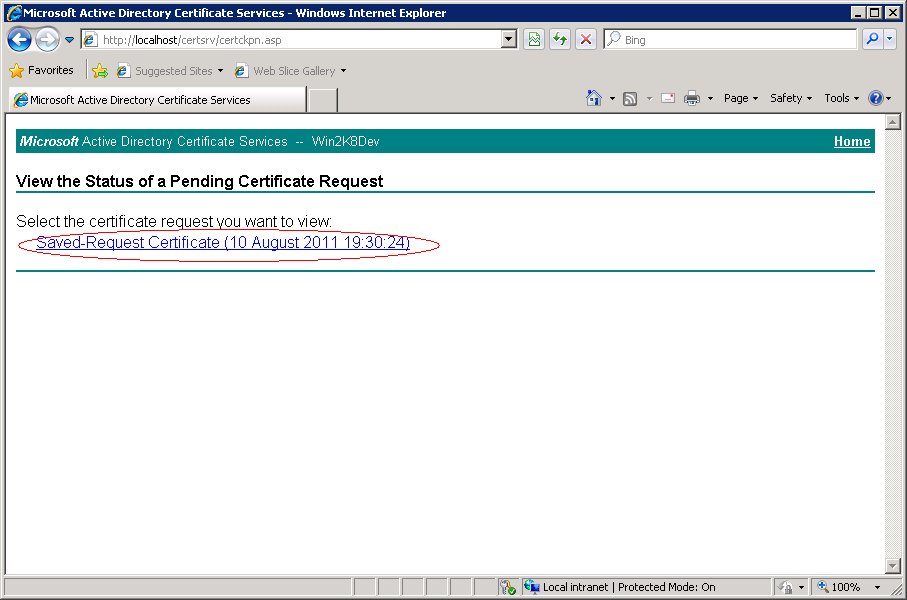
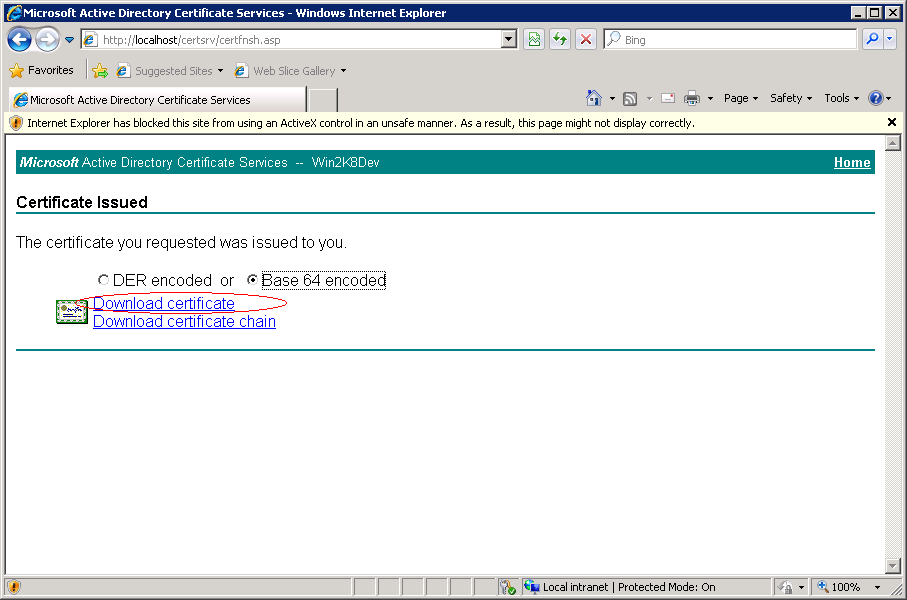
Once you have issued the certificate you'll need to install it, from the main CA webpage, go to View the Status of Pending Certificate Request:


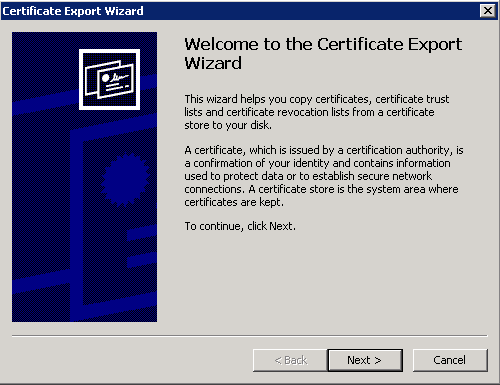
Once the certificate has been installed, you'll need to export it, see this post for instructions. The one thing left to do is to export the public key, which I suggest you do on the web server. All you need to do is select (this will probably be your only option from the web server) to set up client certificate mapping, which you can do by following the steps in this post. One problem I found is that: it doesn't work, I get the following error:


In my case, it's failing to determine the revocation status, which means that I probably messed up somewhere. Irritation. See this post for a solution to this issue

Friday, 12 August 2011

Trust me, I'm a CA - Part 2. The joy of certificates - Part 4
This is a follow on post from this post.

Run IIS Manager (Start|Run|inetmgr) and right click on the properties of the website you want to secure.


We now have a certificate request, which we can you to generate a certificate, so now back in the CA server:


Copy and paste the contents of certreq.txt as shown below:


Now, from the console (start|run|mmc), you can the CA snap-in:


Now, back on the web server. Go back to:


We know have a secure website (yay!):

See the next post for next instalment of the series.

Tuesday, 9 August 2011

It's a self signed world. The joy of certificates - Part 2.

The easiest way to get started with the certificate thingy™ is to use self signed certificates. In essence, a self signed certificate is a certificate that has been signed by the issuer, so there isn't a third party, a CA, ascertaining the certificate's bona fides. The most common use is for testing, but it can also be used in a production environment, although this is unusual, it could be a sensible choice for communication between two units within a company, for instance.

I have used makecert.exe, which is available with Visual Studio or downloading the Windows SDK, I'll try to do this process with openssl, which is a little less unwieldy than Visual Studio :).

The process is also rather involved and laborious, but at some point one has to say enough is enough and get on with it. There is no point in spending three days looking for a solution that will save 5 minutes for every project.

At any rate, here are the steps needed to create a self signed CA, Server and Client Certificate using the makecert tool, install the server certificate for a website and set up client certificate mapping.

1. Create CA. Note that you can change Root to my, if you don't want this Authority to be installed on the local computer Trusted Root Authority store.

makecert -pe -n "CN=SelfSignedCA" -ss Root -sr LocalMachine  -a sha1 -sky signature -r "SelfSignedCA.cer"

2. The certificate should be installed in your Trusted Root Authority store. In order to install it to another server, just follow the instructions on step 5 to export a personal information exchange file and step 10 for instructions on how to install it.

3. Create Server Certificate. Make sure that the CN entry is correct for your server, as otherwise your browser will complain.

makecert -pe -n "CN=servername.dev.com" -ss my -sr LocalMachine -a sha1 -sky exchange -eku 1.3.6.1.5.5.7.3.1  -in "SelfSignedCA" -is Root -ir LocalMachine -sp "Microsoft RSA SChannel Cryptographic Provider" -sy 12 ourserver.cer

4. The ourserver.cer certificate is installed at the same time as it is created:


5. Export ourserver certificate as a personal information exchange file (pfx) with private key. From the certificate Console, see this link.

.

6. Install the exported pfx file(servername.pfx) as a website certificate. From the IIS manager console (Run inetmgr)


7. Create client certificate and install it to the personal store of the computer account (Local Machine)

makecert -pe -n "CN=myclient" -ss my -sr LocalMachine -a sha1 -sky exchange -eku 1.3.6.1.5.5.7.3.2 -in "SelfSignedCA" -is Root -ir LocalMachine -sp "Microsoft RSA SChannel Cryptographic Provider" -sy 12 myclient.cer

8. Use client.cer to set up the client mapping.

9. Repeat step 5 to export the client certificate as a personal information exchange file.

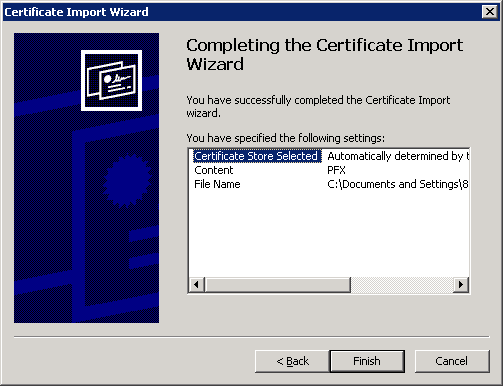
10. Install myclient.pfx to the client computer (Assuming that in step 9 you called it myclient.pfx). Double click on myclient.pfx

Make sure you select yes on this last step

That is it, you should now be able to use client certificates to authenticate to your website. In fact, you can remove any other form of authentication, so that only client certificates are used, like so:

So now, when you try to access the secure website, using IE, you'll see this prompt (if you don't then your client certificate has not been installed properly):