The easiest way to get started with the certificate thingy™ is to use self signed certificates. In essence, a self signed certificate is a certificate that has been signed by the issuer, so there isn't a third party, a CA, ascertaining the certificate's bona fides. The most common use is for testing, but it can also be used in a production environment, although this is unusual, it could be a sensible choice for communication between two units within a company, for instance.
I have used makecert.exe, which is available with Visual Studio or downloading the Windows SDK, I'll try to do this process with openssl, which is a little less unwieldy than Visual Studio :).
The process is also rather involved and laborious, but at some point one has to say enough is enough and get on with it. There is no point in spending three days looking for a solution that will save 5 minutes for every project.
At any rate, here are the steps needed to create a self signed CA, Server and Client Certificate using the makecert tool, install the server certificate for a website and set up client certificate mapping.
1. Create CA. Note that you can change Root to my, if you don't want this Authority to be installed on the local computer Trusted Root Authority store.
makecert -pe -n "CN=SelfSignedCA" -ss Root -sr LocalMachine -a sha1 -sky signature -r "SelfSignedCA.cer"
2. The certificate should be installed in your Trusted Root Authority store. In order to install it to another server, just follow the instructions on step 5 to export a personal information exchange file and step 10 for instructions on how to install it.
3. Create Server Certificate. Make sure that the CN entry is correct for your server, as otherwise your browser will complain.
makecert -pe -n "CN=servername.dev.com" -ss my -sr LocalMachine -a sha1 -sky exchange -eku 1.3.6.1.5.5.7.3.1 -in "SelfSignedCA" -is Root -ir LocalMachine -sp "Microsoft RSA SChannel Cryptographic Provider" -sy 12 ourserver.cer
4. The ourserver.cer certificate is installed at the same time as it is created:

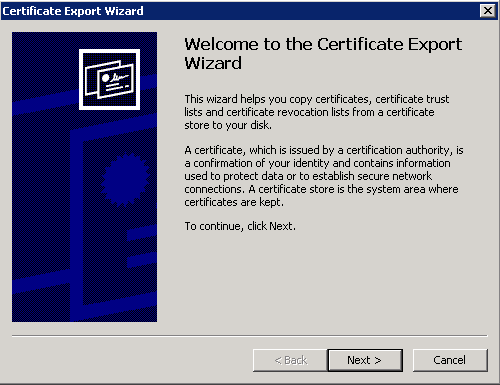
5. Export ourserver certificate as a personal information exchange file (pfx) with private key. From the certificate Console, see this link.

 .
.


7. Create client certificate and install it to the personal store of the computer account (Local Machine)
makecert -pe -n "CN=myclient" -ss my -sr LocalMachine -a sha1 -sky exchange -eku 1.3.6.1.5.5.7.3.2 -in "SelfSignedCA" -is Root -ir LocalMachine -sp "Microsoft RSA SChannel Cryptographic Provider" -sy 12 myclient.cer
8. Use client.cer to set up the client mapping.


9. Repeat step 5 to export the client certificate as a personal information exchange file.
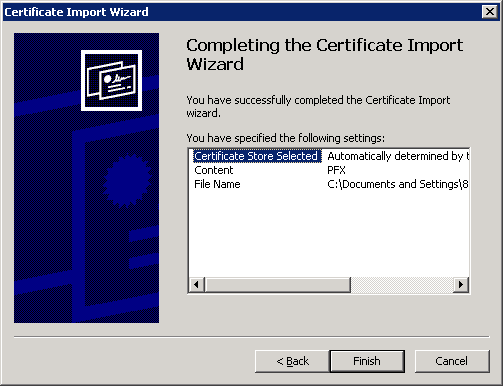
10. Install myclient.pfx to the client computer (Assuming that in step 9 you called it myclient.pfx). Double click on myclient.pfx


That is it, you should now be able to use client certificates to authenticate to your website. In fact, you can remove any other form of authentication, so that only client certificates are used, like so:

So now, when you try to access the secure website, using IE, you'll see this prompt (if you don't then your client certificate has not been installed properly):

No comments:
Post a Comment