In the second part of this series, I will show how to install and configure a failover cluster in Windows 2008. Following from the previous
post, I’m going to assume that you have already installed Windows 2008 to both nodes.
In order to make your life easier it would be a good idea to name the network cards in Windows, public and private. I’ve given 192.168.168.1 & 192.168.168.3 respectively to the private network NICs, whereas the public network NICs have been given an IP address in our development network (10.168.20.240 & 10.168.20.241).
An active-active cluster needs three A Name Records in your DNS server:
- One Record for the Windows cluster (win2k8cluster -> 10.168.20.242).
- Two Records for each “SQL cluster” sql2k8a & sql2k8b -> 10.168.20.243 & 10.168.20.244 respectively.
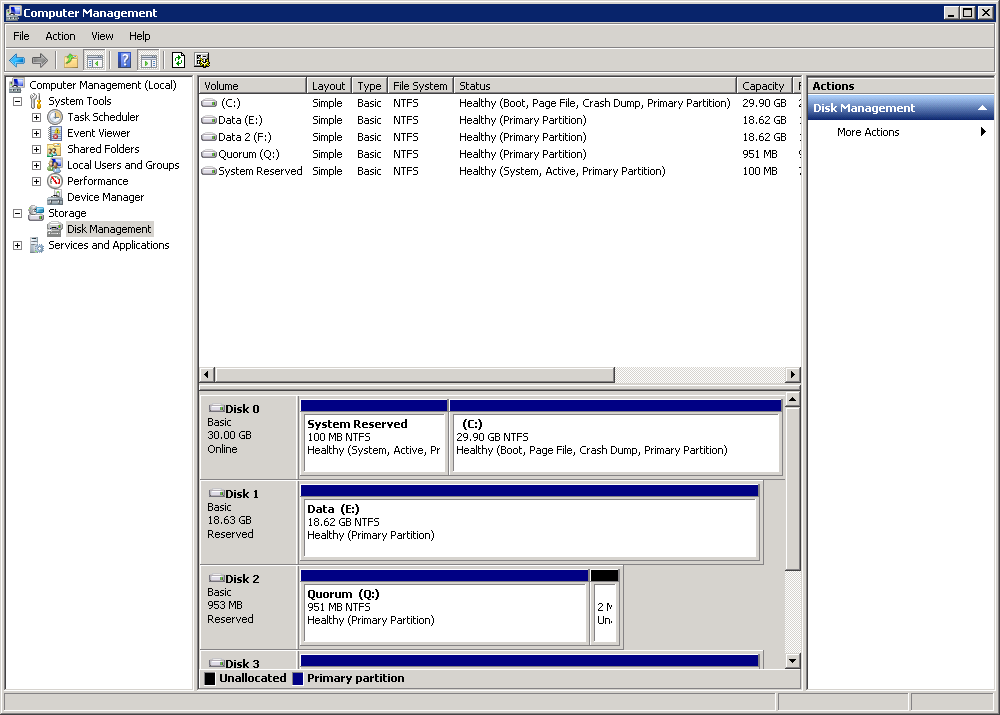
You can add the LUNs (SAN Volumes) to Windows. Run the Computer Management console, from Start -> Run -> compmgmt.msc, and select Disk Management:
- Right click on disk 1 and select Online. Ensure all disks are selected and click OK.
- Right click on disk 1 and click Initialize Disk.
- Right click on disk 1 and select New Simple Volume. Follow the Wizard. Suggest that you provide a Volume Label (e.g. Data A).
Repeat steps 2 & 3 for the other disks.
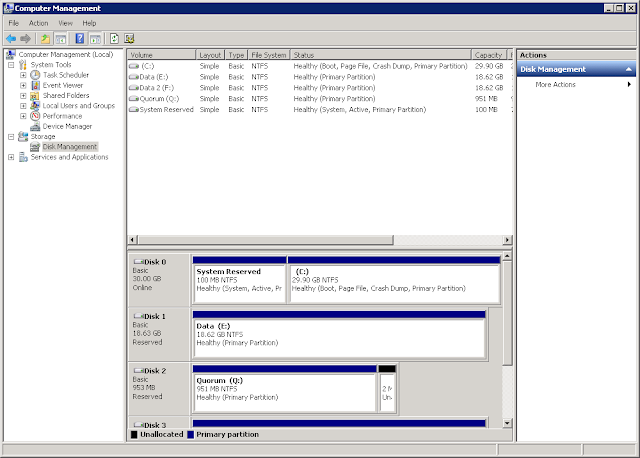 |
| Figure 2.1 Computer Management Console showing Quorum Disk and two Data disks |
In contrast to Windows 2003, where failover clustering is installed by default, in Windows 2008 you need to add the failover clustering feature, which you can do in Server Manager. Thus, from Server Manager:
- Click Features.
- Click Add Features.
- Select Failover Clustering.
- Click Install.
You can now start the cluster administration console or Failover Cluster Manager, from Start -> Run -> cluadmin.msc. Note that cluadmin does not appear to work as it did in Windows 2003, you will need to type cluadmin.msc.
 |
| Figure 2.2 Failover Cluster Manager Console |
You can now create a new cluster, by clicking on create a new cluster. This will launch a wizard that will guide you through the process of creating a new cluster.
On Step 3, run through the validation tests. As I mentioned in the first post of this series, the firewall test failed. This is the error message:
Validate Windows Firewall Configuration
Validate that the Windows Firewall is properly configured to allow failover cluster network communication.
Validating that Windows Firewall is properly configured to allow failover cluster network communication.
An error occurred while executing the test.
There was an error verifying the firewall configuration.
An item with the same key has already been added.
This is an issue with Guest (VM) cloning. I got around it by adding a couple more NICs to the second node, so that it now has 4 NICs, with the first two disabled, not very elegant but it does the trick.
Make sure that you change the ip addresses on NICs 1 & 2 just in case they accidentally get enabled as it could be a barrel of laughs if they inadvertently do get enabled.
On Step 4, enter your cluster name and make sure that you only enable the public NIC for administering the cluster. You need to ensure that the IP address assigned to the public network (10.0.0.0/8) is the IP address of the cluster name.
 |
| Figure 2.3 Create Cluster Wizard. Add an Access point for administering the cluster |
Follow the wizard until the Cluster is created.
It is advisable to test the reliability of the cluster at this stage. I would suggest that you run the following tests:
- Turn off Active node. The cluster resources should failover to the passive node.
- Failover Cluster Group. This should move the cluster group to the passive node. This can be accomplished with the following command (needs to be run as an Administrator): Cluster group “Cluster Group” /move:wink2kb
- From ESX, switch off the public network on the active node. The cluster should fail over to the passive node. When I tried this, it did not work. I’ll need to investigate.
This concludes part two of the series, in the
third part I will show how to install the first SQL Server failover cluster.